I'd first suggest getting yourself organized first. I separated my 3 sets of BT and alphabetized them to make them easier to find. I did the same to my PT's.
 So I grabbed the PT and the matching 3 BT and brought them to my counter. I don't own a melon baller so I just used my metal 1/2 tsp. measuring spoon to scoop. The reason I chose the 1/2 tsp size was because the size of the 1/9oz containers matched the size of the 1/2 tsp.
  Start by doing shallow scoops. Remember you don't need a lot to get the scent strong enough. This was one of my first ones so it's not very pretty. I soon figured out how big my scoop should be for each container.
 I didn't have much spillage over the edge as long as my wax wasn't hanging over the container when I put it in the oven.
 I lined a cookie sheet with wax paper for easier clean up. Then I put enough BT to fill the sheet.
 My first batch I set my oven at 170 (the coolest it would go...I was still nervous of melting my containers) But it really didn't get very hot so I quit being a sissy and put it up to 200 degrees.
 This is after about 5 minutes. Every oven is different so I'd say start with 5 minutes if you are melting the same size and then go from there. As you can see some where still a little more solid than I wanted.
 Mine ended up taking closer to 7 minutes. Again, this is just a guide line so always watch your oven. I was SOOOO happy my containers didn't melt. They weren't even hot to handle! A little warm though. I just left them alone while I made the next batch on a new cookie sheet so they could cool enough to close them up. It took about 10 minutes to cool off.
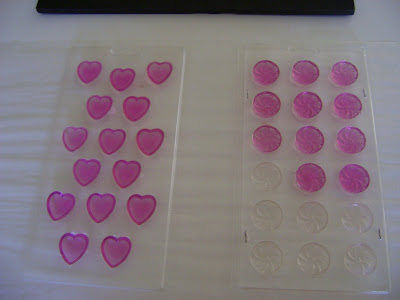
 Now...as for my PT...I just did this yesterday so I wasn't really caring about the appearance of these. So if you have suggestions on how to make them "pretty" again please at a comment! The red PT on the left I popped in my microwave for 30 seconds just to melt the left over shavings so I could take the back of a plastic spoon and smooth out the wax. The tan wax on the right is what is looked like before I did anything to it. Right now I'm ok with the dug out part as long as it wasn't choppy looking. I wish I had dug out around the edges more than going down the center so much. But for now I'm going to leave it alone. I think if I have a really warm day here I might put them outside to soften up enough to mess with it. I just really hate "melting" the wax the a liquid form. I just think the less you mess with the wax the longer it will last. Again, if you have any ideas please let me know!
 I also saw this on the forum so I take no credit in the cuteness of it! You can find these little snap containers at Office Max. They came in different sizes so I could fit all the "Favorites" into one container and a smaller one to hold the smaller categories. I then printed off what was in the container onto 2x4 labels and put them on the lid.
 And I found this makeup bag in the cosmetic department of Walmart. All the containers fit into it with a little room for a bar, car candle and a Room Spray. I wouldn't be able to fit any order forms but I just use a 5x8 binder for my hostess for that.
  I hope you enjoyed learning a different way to make BT. I really liked this method better than the water bath! Less cleanup and didn't take long at all. If you have any suggestions for comments please feel free to do so. I can be reached at igowickless@hotmail.com . The containers I bought at www.samplecontainerstore.com They are the 1/9 oz size. You can purchase full sets or transitions from then with labels. They are fast and I've been happy with how my BT's turn out!
 (Many of you have emailed me to do instructions of the Plug In display. I'm sorry I suck and haven't gotten around to it yet! I just haven't made any more. So I'm going to be taking apart me current one and taking step by step pictures of it and I PROMISE to get the instructions up here this week! I PROMISE!! If I don't feel free to email me and harass me:-)




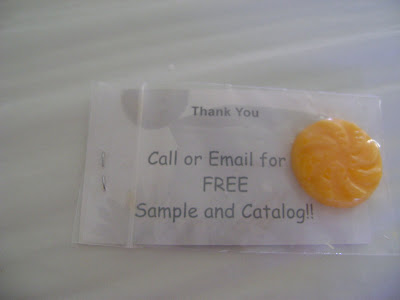
 Or you can attach it to a business card. Right now money is tight so I don't have